My first homemade hazelnut spread with cocoa
Oooohh I love sweet things. Especially chocolate. Dark chocolate. Yummy! Well, I love food in general :) Before I went vegan, I used to eat popular hazelnut spread (Nutella duuh) for breakfast with my kids. Then I tried to find vegan hazelnut or chocolate spread, but all I could find was indeed very tasty, but the majority of ingredients were sugar or oil. I did find hazelnut spread with dark chocolate (60% hazelnuts!!), but unfortunatelly in a store 1 hour from my home. So, it wasn’t really efficiant to drive that far for one (or 5) glasses of spread.
One day I was browsing the internet for homemade sweets and I found homemade hazelnut spread! At first, I was very skeptical - I don’t have a super-duper blender, I have never in my life roasted nuts in the oven, let alone do something with them. But then again in the store, where I saw the oily and sugary hazelnut chocolate spread, I decided to give it a try. Instead, I bought some hazelnuts and put on my cooking face.
Back to the computer to find different recipes, the simpler the better. In the end, I mixed a few of them together, so I could use the ingredients I had at home and keep it easy. If you want to see which recipes I found, scroll down to the bottom, where I list them :)
Ingredients I used:
- hazelnuts, 3 cups (approx. 400g)
- maple syrup, 2 big spoons
- cocoa powder, 2 big spoons
- pinch of salt
- pinch of sugar
- water and almond milk, when it got too firm
A lot of recipes had chocolate as an ingredient, but I didn’t have any. Therefore I used bitter cocoa powder, so I added some sugar there as well. I wasn’t too careful with adding other ingredients into the blender and the whole thing started to become quite firm. I added first some water and then some milk to smoothen it and it worked!
The biggest challenge was to roast the hazelnuts. I carefully read the instructions, spread the hazelnuts on the baking plate and put them in the oven for 15 minutes on 356°F/180°C. When I took them out, I folded them into the kitcen towel. With one hand I hold the towel firmly, so hazelnuts wouldn’t go out and with other hand I rubbed them against the kitchen counter and against each other inside the towel. To my surprice almost all skin from the hazelnuts went off! I rubbed few of them against each other again to remove leftover skin, but wasn’t bothered too much if they weren’t perfect. All hazelnuts went into my 15 eur blender. That was pretty scary, since every website says you need a professional blender. Nevertheless, I tried with my small litle buddy. After blending for some time, the hazelnuts started to form a butter. So awesome! I did take little breaks in between, so my blender woudn’t overheat. When the butter was totaly smooth, I added cocoa powder, maple syrup, salt and sugar. I blended again and didn’t notice that the butter became firmer and firmer. I stoped when my little blender got a little hot and just used spatula to mix it with water and milk. Good choice!
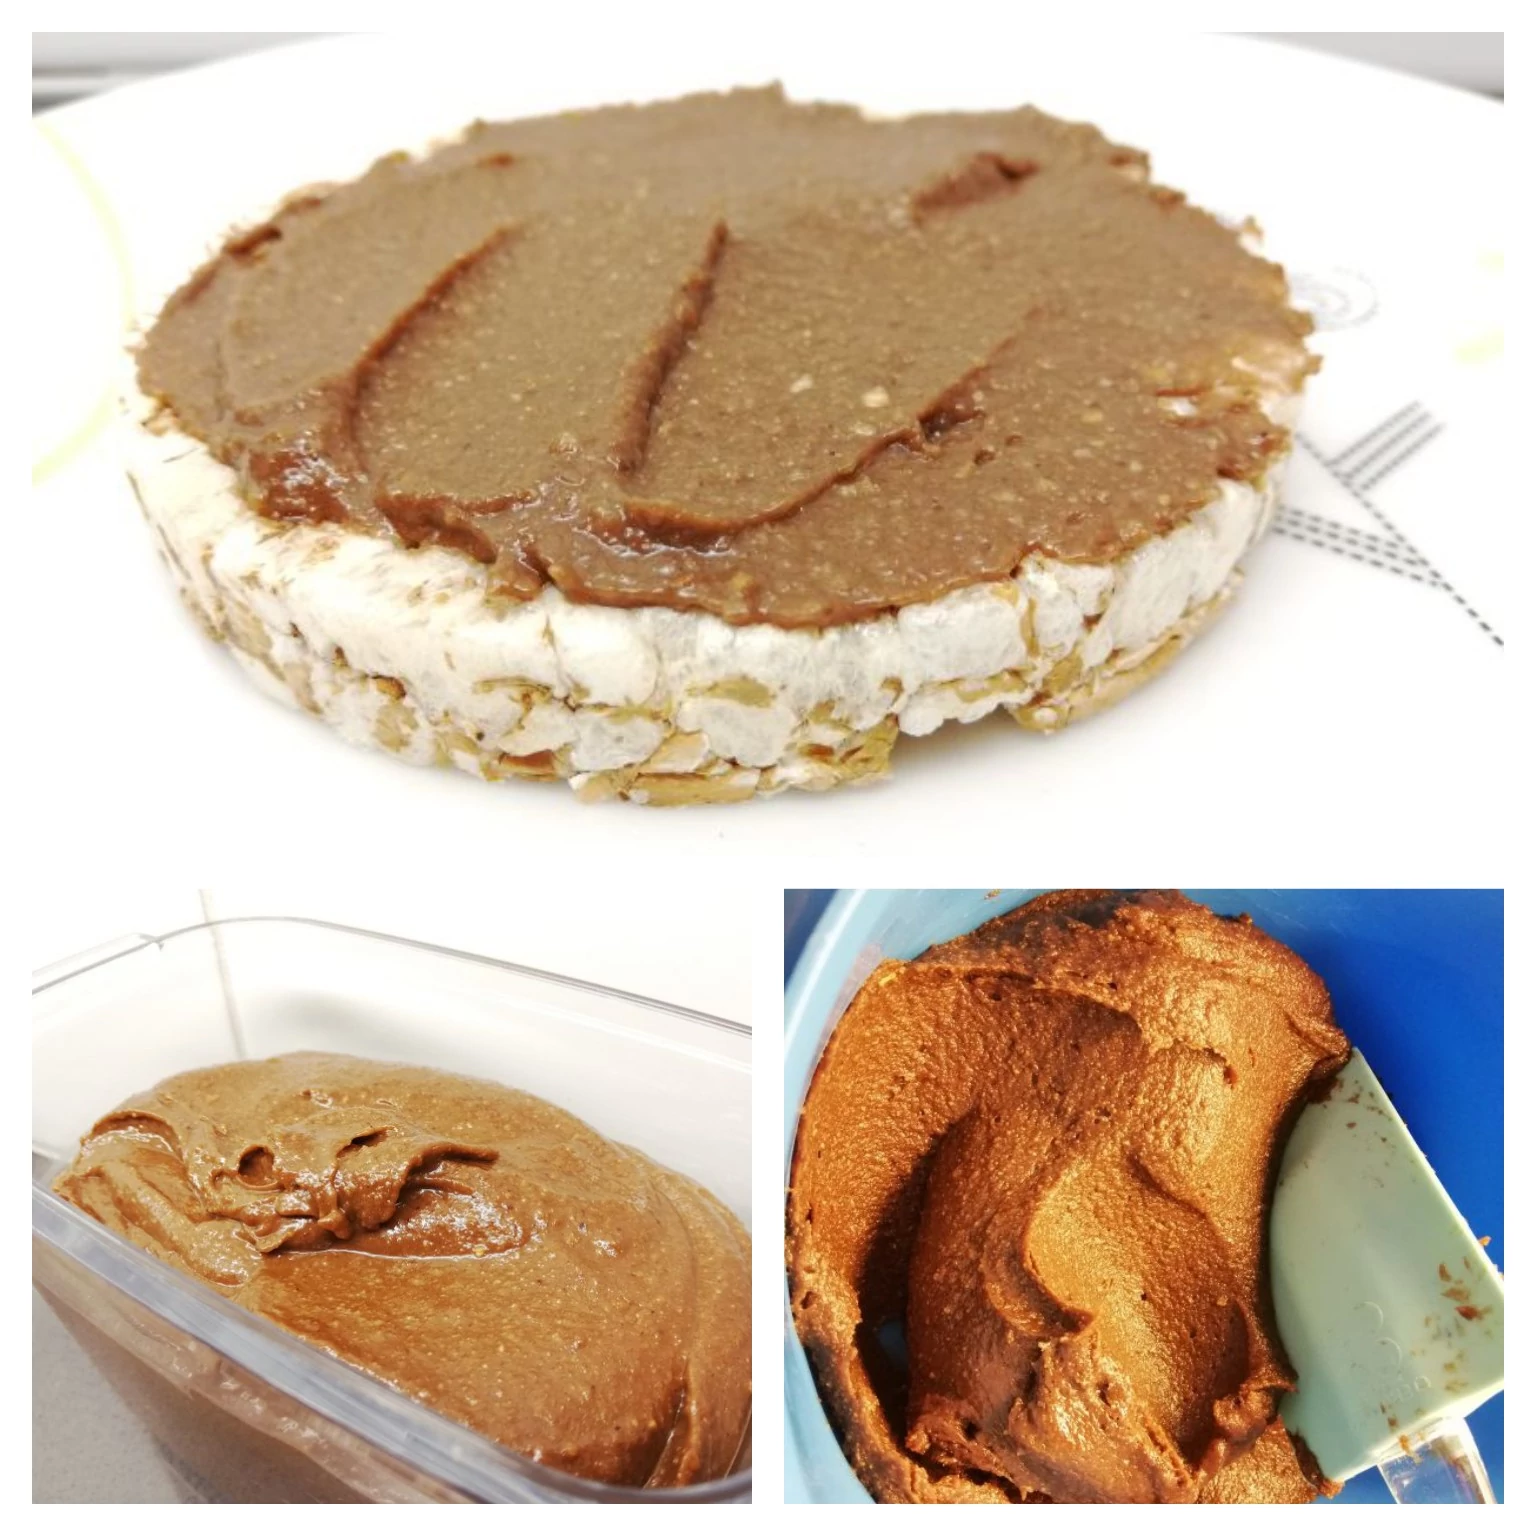
In the end, after 30 min of everything, I had my first, totally homemade hazelnuts spread with cocoa - oh boy it was good (and healthy)! I’ve stored it in a vacuum container (could be a glass jar as well) and the taste was the same after 3 weeks as the first day.
Who would have thought I could do my own delicious spread with my basic home appliances :) Totally recommended!
Have a great day and bon appétit!
The list of recipes I checked: